
Menu
A book for every taste is
at your fingertips.
Don't miss the chance.
Life Changing
Informative Guides
Unbiased
Book Reviews
100%
Authentic Research
Straightforward
Buying Guides

How to Turn a Closet Into a Bookshelf?
Discover how to turn a closet into a bookshelf with our DIY guide. Maximize space and create a cozy reading nook at home. A straightforward guide is here!
Authentic Info Guaranteed
Are you someone who loves books and wishes for a special spot to read? Do you ever look at your closet and think it could be more? Well, good news! We’re here to show you how to make your closet into a cozy book place. Even if your room is small, you can have your very own book world. Let’s get started on this fun project together!
Table of Contents
Toggle1. Planning and Preparation
Before we start turning your closet into a bookshelf, we need to plan things out and get ready. Imagine we’re like explorers, getting ready for an adventure!

Step 1: Measure Your Closet
The first thing we need to do is measure your closet. That means finding out how big it is inside. You can use a special tape measure for this job. Measure how tall, wide, and deep your closet is. This information will help you figure out what kind of bookshelves will fit inside nicely.
Step 2: Think About Your Bookshelf Design
Next, let’s think about how you want your bookshelf to look. Do you want tall shelves or short ones? Should they be attached to the walls or stand by themselves? You can draw a picture or make a list of your ideas. This is like planning a puzzle – figuring out how the pieces will fit together.
Step 3: Gather Tools and Materials
Now, let’s get our tools and materials ready. Think of tools like special helpers that help us build things. You’ll need a special tool called a drill to make holes in the walls for the bookshelves. You’ll also need screws to hold everything together. For the shelves themselves, you’ll need strong boards. If you want your closet to look colorful, you can also get paint or wallpaper.
Step 4: Set Your Budget
Budget is like the money you’re willing to spend on this project. Think about how much you want to spend on the shelves, paint, and other things you need. Setting a budget helps us make smart choices and not spend too much money.
Okay, great! We’ve done our planning and gathered our tools. Now we’re ready to start working on turning that closet into an amazing bookshelf. It’s like we’re getting ready to build a castle for your books, and soon you’ll have a magical reading spot all to yourself!
2. Clearing Out the Closet
Now that we’re all set with our plan, it’s time to get our hands busy and clear out the closet. Think of it as getting your space ready for a brand-new adventure!

Step 1: Empty the Closet Completely
Imagine the closet as a treasure chest filled with stuff. To make space for your bookshelf, we need to take everything out. This is like cleaning up your room, but just in the closet!
Step 2: Sort Belongings into Categories
Next, let’s sort out the things we took out. Imagine you’re a detective sorting clues. Divide your things into groups: things you want to keep, things you don’t need anymore (which you can donate to others or recycle), and things that could be put in a different place in your room.
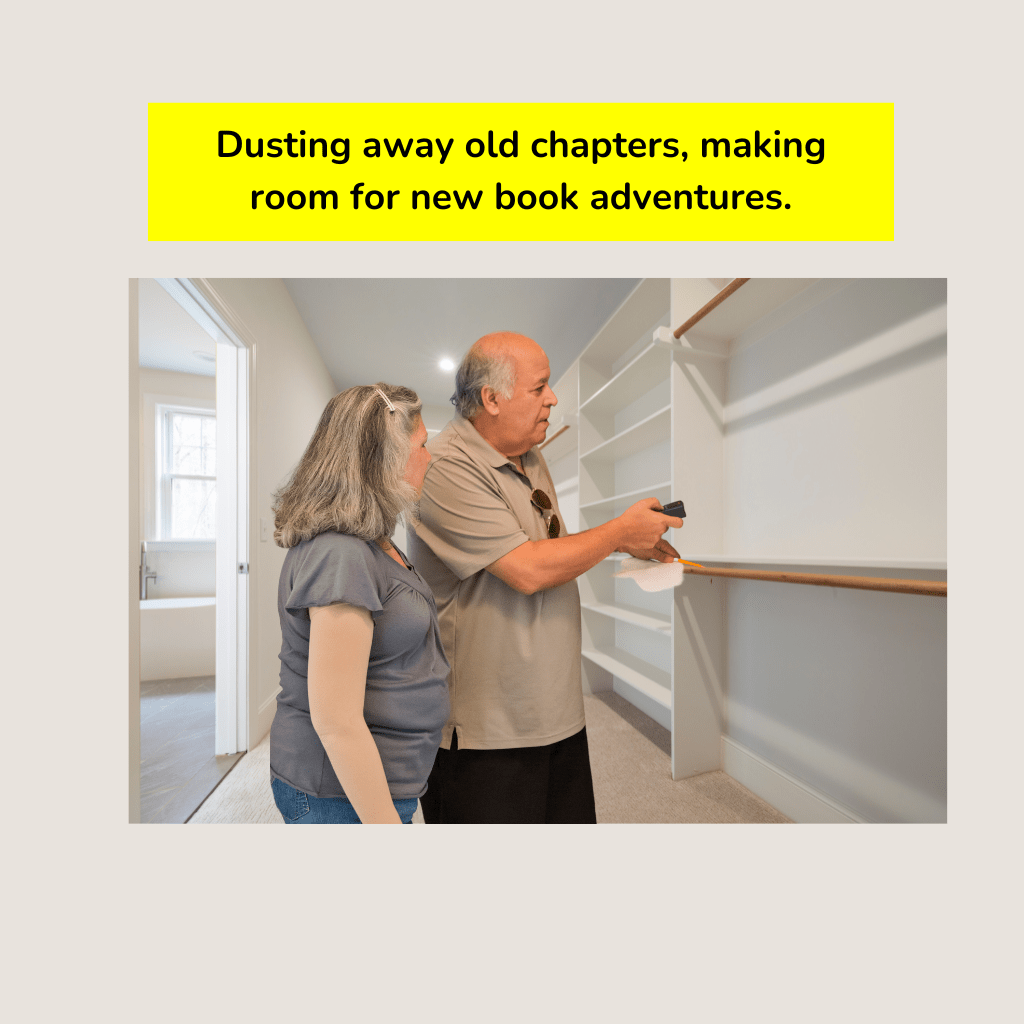
Step 3: Deep Clean the Closet Space
Now that the closet is empty and your things are sorted, it’s time to give the closet a good clean. This is like giving your space a bath! Use a cloth or a broom to wipe away dust and make sure everything is nice and clean.
By clearing out the closet, sorting your things, and cleaning it up, you’re making room for the exciting changes that are about to happen. It’s like preparing a canvas before you start painting – everything will look even more amazing when it’s clean and organized. You’re doing great, and your closet is getting ready for its transformation into a cozy book nook!
3. Measuring and Designing
When it comes to transforming your closet into a bookshelf haven, precise measurements and thoughtful design are your allies. This step is like setting the stage for a captivating story – it lays the foundation for your reading nook to come alive.
Step 1: Measure Your Closet's Interior
Begin by measuring the insides of your closet. Height, width, and depth are your guiding dimensions. A tape measure is your best friend here, helping you grasp the space you have to work with. This is the starting point for creating bookshelves that fit seamlessly.
Step 2: Sketch Your Bookshelf Layout
Imagine yourself as an architect mapping out a blueprint. Sketch a layout of your dream bookshelf design. Decide on the number of shelves and their placement. Visualize how your books will sit comfortably, waiting for your eager hands.
Step 3: Consider Essential Factors
Just as an artist selects colors for their canvas, consider crucial factors. Determine the heights of your shelves – will they cater to novels or tall volumes? Plan the spacing between shelves – enough for books to breathe, but not too much wasted space. Think about any extras: warm lighting to set the mood, or soft cushions for reading comfort.
This step involves both precision and imagination. As you measure and design, you’re crafting the structure that will house your literary treasures. Think of it as the first chapter in your closet-to-bookshelf adventure, where every measurement and sketch leads you closer to the cozy reading nook you’ve envisioned.
4. Building the Bookshelves
It’s time to roll up your sleeves and start building your bookshelves! Imagine you’re a builder, creating something amazing from scratch.

Step 1: Choose DIY or Pre-Fabricated
You have two choices here. You can make your own shelves from scratch, just like crafting a unique masterpiece. Or you can use pre-made shelves that are already put together, like using ready-made puzzle pieces. Decide which way suits you best.
Step 2: Install Brackets or Supports
Brackets are like the superheroes that hold your shelves up. Attach them to the walls following your design sketch. Make sure they’re strong and in the right place. This step is like setting the foundation for your bookshelf adventure.
Step 3: Attach the Shelf Boards Securely
The shelf boards are the big parts that hold your books. Use screws to attach them to the brackets or supports. But wait! Before you start screwing things together, use a special tool called a level. It’s like a magical ruler that helps you make sure everything is straight and not leaning to one side.
Step 4: Add Extra Functionalities
Imagine your bookshelves are a playground for your books. If you want, you can add a special shelf at the bottom for big books or even a small seat cushion where you can sit and read. This is like adding a slide and a swing to your playground – making it even more fun!
Just like building blocks, you’re putting your bookshelves together step by step. When you’re finished, you’ll have a place for all your books to live and a cozy spot to dive into your adventures. Keep going because the excitement is building up, just like your bookshelves!
5. Personalizing the Space
Now that your bookshelves are in place, it’s time to make your reading nook truly special and cozy. Imagine you’re a decorator, turning an empty room into a magical place!

Step 1: Paint the Interior Walls
Get your favorite paint color ready, like a painter with their palette. Paint the inside of your closet with a light and inviting color. This will make your space feel cozy and warm, just like a hug from a good friend.
Step 2: Consider Adding Wallpaper
If you want a touch of style, think about adding wallpaper to the back wall of your bookshelf. Wallpaper is like a fancy dress for your closet – it can have fun patterns or colors that make your space unique and exciting.
Step 3: Install LED Strip Lights
Imagine tiny stars lighting up your space. LED strip lights can do just that! They add a cozy glow to your book nook. Plus, they help you see better when you’re reading your favorite stories.
Step 4: Add Comfortable Furniture
It’s time to bring in the comfiest part – a chair or a cushion. Imagine sinking into a cloud while you read. Pick a chair that’s soft and cozy, or add a cushion so you can snuggle up and lose yourself in your books.
By personalizing your space, you’re adding your own special touch to your reading nook. It’s like adding sprinkles to your ice cream – making it extra delicious and uniquely yours. Now your closet has transformed into a place that’s not just for books but also for you to enjoy your reading time in the coziest way possible!
6. Arranging Your Books
Now that your cozy reading nook is taking shape, it’s time to arrange your books in a way that feels just right. Imagine you’re a librarian, creating a magical library all your own!
Step 1: Organize by Genre, Author, or Color
Think about how you’d like to find your books. You can organize them by genre (like adventure or mystery), by author, or even by color.
Expert Advice
|
1. Organizing by Genre
Imagine you’re in the mood for a thrilling adventure or horror. When you organize by genre, you can easily find the perfect book to match your current reading craving. |
|
2. Organizing by Author
Have you fallen in love with the writing style of a particular author? Organizing by the author helps you keep all their works together, making it convenient to explore their literary journey. |
|
3. Organizing by Color
Sometimes you’re drawn to the aesthetic charm of your bookshelf. Organizing by color creates a visually pleasing arrangement, transforming your collection into an eye-catching work of art.
|
Step 2: Use Bookends and Decorations
Bookends are like the guardians of your books, keeping them in place. Place them at the ends of your shelves. You can also add some small decorations or even tiny plants to make your bookshelves even more charming and inviting.
Step 3: Leave Some Empty Space
Just like a garden needs room to grow, leave some space on your shelves for new books to join your collection. It’s like having an extra seat at the table for a new friend. This way, your reading nook will always have room for exciting new adventures.
Arranging your books is like creating a beautiful art display. Each book is like a brushstroke, making your reading nook a masterpiece. By organizing, adding decorations, and leaving room for more, you’re giving your books a special home and turning your reading corner into a place of wonder and imagination!
7. Adding Finishing Touches
Your bookshelf is almost complete, but there are a few more delightful touches to add. Think of these steps as sprinkles on top of a yummy cupcake – they make everything even better!
Step 1: Hang Artwork or Quotes
Imagine your reading nook as a gallery of inspiration. Hang artwork, posters, or even quotes on the closet door or the wall next to it. These can be things that make you smile or motivate you to read even more.
Step 2: Use Soft Furnishings
Now, let’s make your reading spot extra comfy. Add soft throw pillows or a cozy blanket to your chair or cushion. It’s like giving your reading nook a warm and welcoming hug.
Step 3: Install a Small Shelf or Container
Imagine having everything you need within arm’s reach while you read. Install a small shelf or put up a container where you can keep your favorite reading companions – like a cup of tea, a snack, or your reading glasses. This way, you won’t have to interrupt your reading time to search for things.
With these finishing touches, your reading nook is not only a place for books but a world of comfort and inspiration. Now you have a place where you can get lost in stories and create magical moments.
8. Embracing Your New Book Shelf
Congratulations, you’ve created a wonderful book nook that’s all your own! Now it’s time to celebrate and enjoy the cozy space you’ve made. Imagine you’re at the finish line of a race, feeling proud and happy!

Step 1: Celebrate Your Creativity
Give yourself a pat on the back! You’ve turned an ordinary closet into a magical reading spot. Take a moment to appreciate your hard work and the fantastic space you’ve created.
Step 2: Share Your Accomplishment
Just like sharing a tasty treat, share your accomplishment with your friends and family. Take pictures of your book nook and show them off. You can even post about it on social media to inspire others to create their own cozy reading spots.
Step 3: Enjoy Quality Reading Time
It’s time to dive into your favorite books and get lost in their worlds. Snuggle up in your chair with a cup of tea, wrap yourself in the soft blanket, and let the stories take you on amazing adventures.
Your new book nook is like a treasure chest full of stories waiting to be explored. By celebrating, sharing, and enjoying your cozy reading space, you’re not only making yourself happy but also inspiring others to create their own special corners of imagination. Now, go ahead and embark on new literary journeys, all from the comfort of your magical book nook!
Conclusion
In conclusion, if you’ve ever wondered how to turn a closet into a bookshelf, you now have the key steps to unlock this exciting transformation. It’s more than just making space – it’s about crafting a cozy haven that speaks to your love for books. By embracing your inner designer and following these straightforward instructions, you’ll soon find yourself immersed in the pages of your favorite stories within your very own closet-turned-bookshelf nook. So gather your tools, unleash your creativity, and embark on this DIY adventure. Get ready to relish the joy of reading in a space that’s uniquely yours. Happy reading and happy transforming!
FAQs
Transforming a bookshelf into a regular closet involves similar steps to the process described above but with a focus on adult clothing and storage needs. Here’s a simplified guide:
Empty the Bookshelf: Remove all books and items from the bookshelf to prepare for the conversion.
Measure and Plan: Measure the available space on the bookshelf and plan where you’ll place clothing rods, shelves, and other storage solutions.
Install Clothing Rods and Shelves: Attach clothing rods for hanging clothes and add shelves for folded items, shoes, or accessories.
Organize: Arrange your clothing, shoes, and accessories on the shelves and clothing rods. Consider using storage bins or baskets to keep smaller items organized.
Accessorize: Customize the closet by adding hooks, mirrors, or other organizational accessories to maximize its functionality.
Safety and Stability: Ensure that the bookshelf is securely anchored to the wall to prevent any accidents or tip-overs.
Final Touches: Stand back and appreciate your newly transformed closet space, which combines storage and style.
Converting a bookshelf into a baby closet is a creative and practical way to organize baby clothes and essentials. Here’s a step-by-step guide to help you accomplish this transformation:
Materials You’ll Need:
Bookshelf
Clothing rods or tension rods
Storage baskets or bins
Baby hangers
Fabric or curtains (optional)
Screwdriver or drill
Level
Measuring tape
Steps:
Empty the Bookshelf: Remove all books and items from the bookshelf to prepare for the transformation.
Measure and Plan: Measure the available space on the bookshelf, considering the height, width, and depth. Plan where you’ll place the clothing rods, storage baskets, and other accessories.
Install Clothing Rods: Determine the desired height for the clothing rods. Attach the clothing rods or tension rods horizontally across the bookshelf, creating a space to hang baby clothes. Use a level to ensure they are straight.
Add Storage Baskets: Place storage baskets or bins on the shelves of the bookshelf. These can hold folded baby clothes, diapers, toys, and other essentials.
Hang Baby Hangers: Hang baby hangers on the clothing rods to organize onesies, dresses, and other hanging items.
Optional Curtain Cover: If you want to conceal the contents of the closet, you can hang a curtain or fabric along the front of the bookshelf. This adds a decorative touch and helps keep the closet organized.
Label and Organize: Use labels or tags to identify the contents of each storage basket or bin. Organize baby clothes by size, type, or frequency of use.
Accessorize: Consider adding hooks or small shelves on the sides of the bookshelf for additional storage space. You can use these to hang hats, bibs, or small baby accessories.
Safety Considerations: Ensure that the bookshelf is stable and securely anchored to the wall, especially if the baby closet is in a location accessible to the baby. Safety is a top priority.
Final Touches: Once you’re satisfied with the organization and setup, step back and admire your converted baby closet. It’s a functional and creative solution for storing baby items.
Related Posts
